
First of all, CONGRATULATIONS!! Creating a book alone is a huge accomplishment and I’m so excited that you’ve gotten to the next part of the process - sharing your book with the world! It can definitely feel daunting at first, but breaking down the steps into actionable tasks is how I was able to fight the overwhelm and make it to the other side. It’s completely possible, even if you don’t know the first thing about publishing. Just take it one step at a time!
This post is for those who have fully completed their book. If you’re still in the midst of finishing and need some help getting to this point, check out my Step-by-Step-Guide to Writing and Illustrating a Children’s Book here.
I’ll begin with the 3 ways you can go about publishing in simple terms:
Traditional Publishing - where you first find a literary agent who then helps you find a publishing company to print and distribute your story. You may still need to do a lot of your own promoting depending on the deal that is negotiated. This can take much longer to get your story out into the world because you will first need to spend time sending query letters to secure an agent and then you can submit to the publishers, but this is a great way to get your book in front of more people at once.
Independent “Indie” Publishing - this is similar to the process of submitting and working with traditional publishers, but you don’t usually have to go through a literary agent first. Most Indie publishers will accept queries from authors directly. If you aren’t sure whether a publisher requires an agent or not, check their submission guidelines to find out!
Self Publishing - where you find a place to print your books and then sell them yourself. It’s more work to get your book out into stores and may have a smaller reach, but it’s a great way to get your book out there affordably and quickly and anyone can do it! You can always start with self-publishing and move into indie or traditional publishing later on.
This was a big part of my research process in the beginning and I’m sure it’s something you’ve thought about too! Traditional vs. Indie vs. Self Publishing, which is better?! Well, I’ve come to the conclusion that there is no one answer to this, it just DEPENDS. It depends on your book, your audience, your existing platform (or lack thereof), your desired timeline, and it will depend on your publisher or printer that you find in the end.
Reasons I chose to do Self-Publishing:
Timeline: I had already written and illustrated my book and was ready to get my book out there and preferred doing it immediately rather than waiting for someone else to accept it. All I had to do was go store to store with my sample book and see if they’d like to order : )
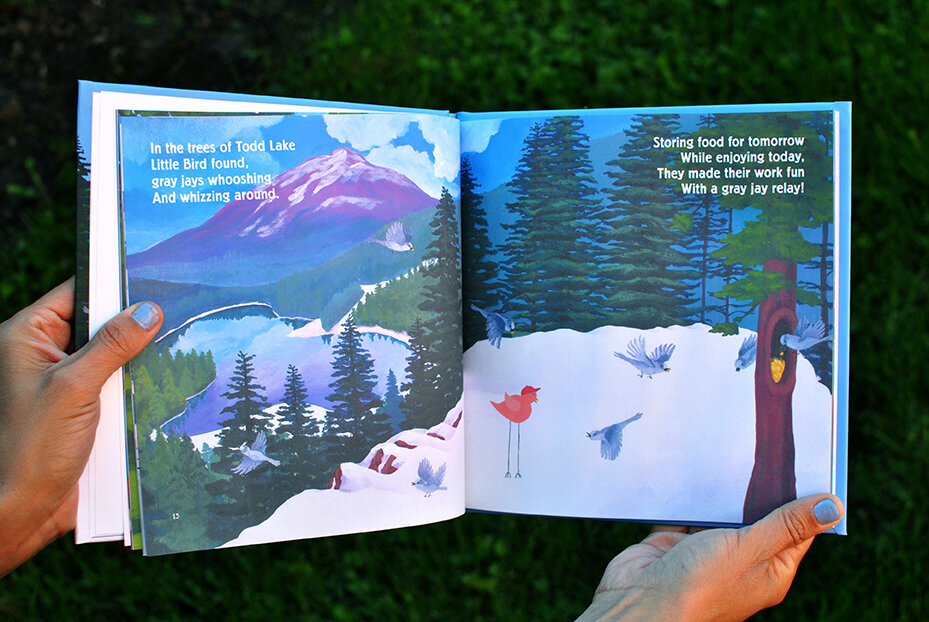
Distribution needs: Both of my books are about the town I live in so the people buying this book would mainly be locals or visitors. This means that they would mainly be selling locally and I would not need it widely distributed. Working with stores personally has been such an added benefit to my business and an organic way to building relationships with local businesses!
5 Steps to Self-Publishing Your Book:

Scan illustrations at a high resolution.
You will need high res images to digitize and transfer to the computer. If you have larger illustrations, like I did, you’ll need access to a large format scanner. I did this by calling around places who do high res scanning professionally. After calling around different places and found the best price and service, I brought in my illustrations and a thumb drive for the images. (This step is only necessary if the illustrations are done by hand!)

2. Purchase an ISBN number + barcode.
The ISBN is a long number paired with a barcode and is found on every single book you buy at the store. It stands for International Standard Book Number. Get your ISBN here.
Some publishers and other services might offer to get your ISBN for you, but it's safer to get your own ISBN/barcodes so that nobody owns them but you.

3. Lay out your book on the computer.
This is when you layer the text from your story with the illustrations and get to see it all start coming together! It usually entails utilizing Adobe InDesign or any design program your printer suggests. My husband is a graphic designer so he was able to do this part for me, but many people hire someone to do this for them because it’s a very technical part of the process and also very crucial in making sure the book prints out correctly! One wrong button can cause problems with color, bleed, etc.
Note: You may want to take some time to choose your printing service right about now! The printer may have specific requirements which will be helpful to know before doing the layout. (See step #5 for details)
4. Copyright your book.
Then nobody can copy or print your book without you saying it’s ok to do so. You can copyright art, movies, photography, and of course books. Register your book for copyright here.
All you do is fill out the form online, pay a fee, and the Copyright office will send you a certificate that will list all the information about your book. Keep it for your records!

5. Send your book files to the printer.
There are three main printing options: Print On Demand (POD), book printers, or digitally as an ebook.
I found that POD is a great place to start since there isn’t a minimum order. This is how I started when I wasn’t sure how many I’d be able to sell at first. I began by getting a couple printed so I could bring them around to stores to gather up my first few orders of books. This helped me gain some momentum! The one draw back is that POD is much more expensive per book than if you are ordering in bulk from a larger book printing company. So, once I knew I could sell enough books where I could make it through the inventory, I invested in a book order with a minimum of 1k through a book printer. This required much more money up front, but the overall experience was better and since I sell my books wholesale, it was the only way I could make a profit long term.
YAY! Once you get your book files off to the printer, it’s time to celebrate!!!
There’s so much that goes into writing and publishing a book, but when you get to see all your hard work put together and share it with others, there’s no other feeling like it.
In any creative project, the most important thing is to follow your heart. Every single person has a story to share. It doesn’t matter what it is, if it’s coming straight from your heart, then no matter how young or old you are, people will connect to that.
Sending you all the good luck and self publishing vibes in the world!! You got this.
Finishing up your self published book and wondering how to get into some local shops? Check out my blog post on how to get your children’s book into local stores!
Keep on Creating!
Kristen
